Saturday, December 26, 2009
Some Gifts
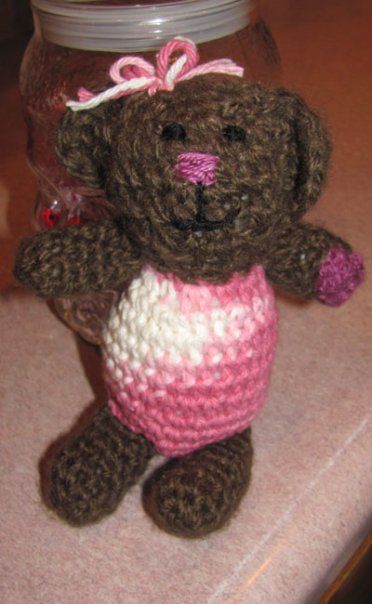
Bear that I did for my cousin's 3 year old. She loved it and didn't put it down all night!
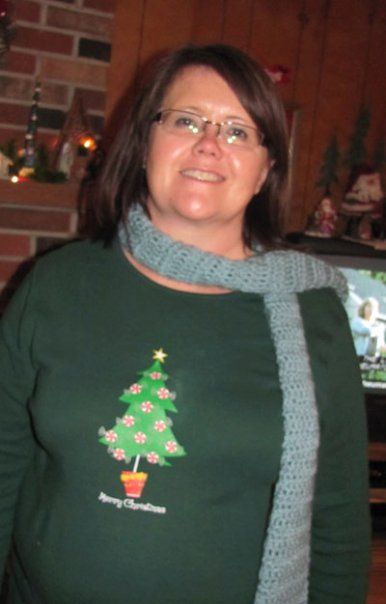
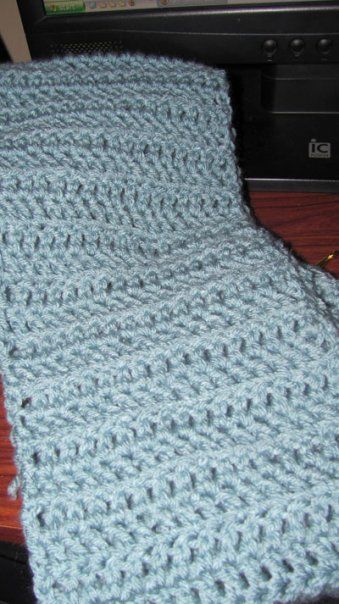
My Aunt's scarf and her wearing her scarf.
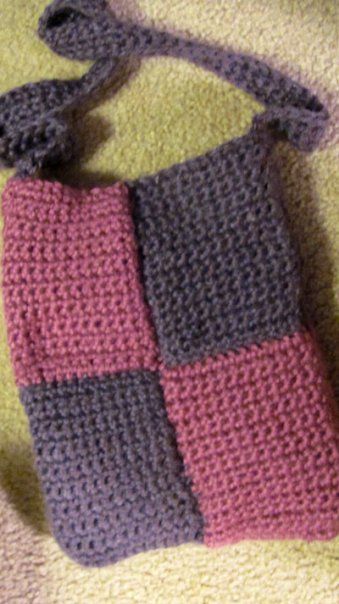
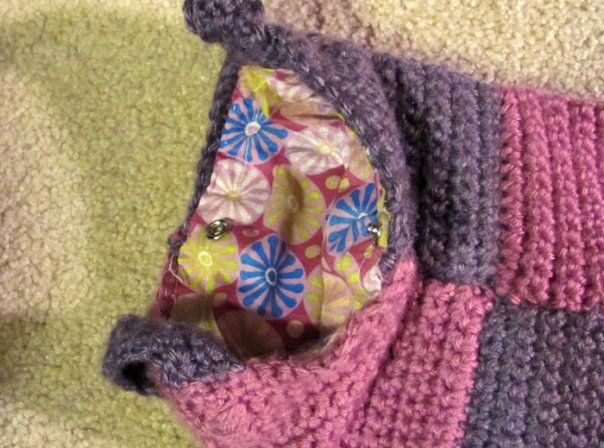
Purse that I did for my Cousin Abby.
Ryan actually picked out the lining. I hand stitched it.
I have patterns if anyone is interested. Or feel free to ask if you have questions!
Wednesday, December 2, 2009
I love my Mammaw!
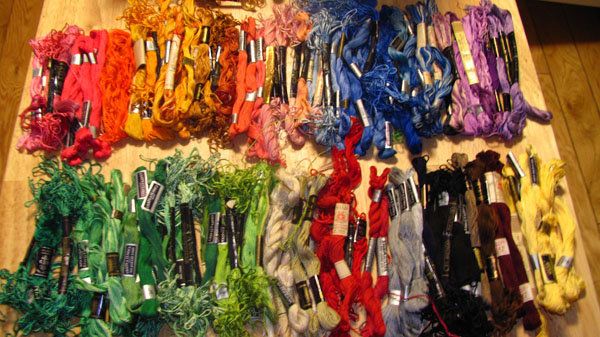
Yesterday, I was at my Grandparent's house helping to put up a few Christmas decorations. I always show my Mammaw something I have crocheted because she used to crochet all the time when I was little. Anyway, I mentioned embroidery floss and she said, "Oh, I have a little upstairs if you can find it" I about fell over when I opened the tin it was in! LOL It's soo expensive anymore!
Here's what she gave me!
Wednesday, November 11, 2009
2nd Annual Vanna's Choice Contest
Lion Brand Yarn Company is sponsoring a yarn contest at Michaels stores. The grand prize is $1,000 and an all-expense paid trip for two to Los Angeles to meet Vanna White. The contest ends on February 1, 2010.
This is a terrific opportunity for yarn enthusiasts to showcase their creations and win some wonderful prizes!

http://www.vannaschoice.com/
Thursday, October 15, 2009
National Pregnancy and Infant Loss Rememberance Day
Friday, September 25, 2009
Crocheted Infant Hat with Flower
Friday, May 1, 2009
Rag Quilt
 Lining up all of the squares for sewing. (At this point I had already sewn the front to the back and made the X across each square.)
Friday, March 13, 2009
Click to view larger
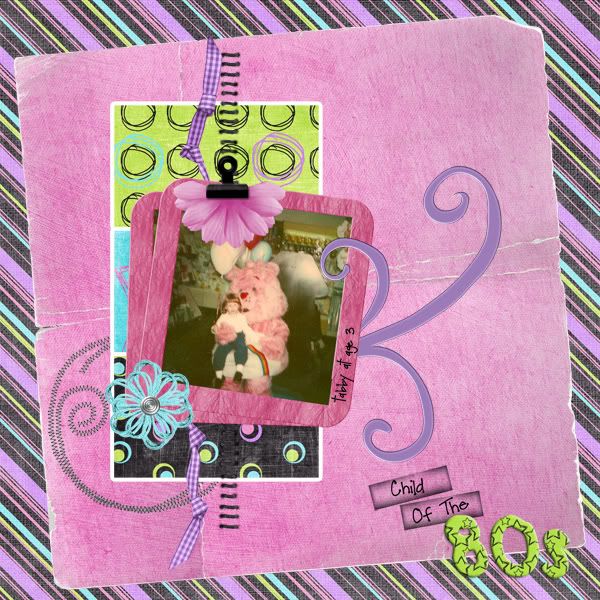
Kit is AWP; Bright Eyes http://vicki20.blogspot.com/
and the fonts are Pea Fonts
I Miss You
Here's one I just finished. This is my paternal grandfather. He passed away and took a part of my heart with him on December 16, 2007. He was an amazing man who could pick up any instrument and play. He invented many things and was a very intelligent man. Most of all, he was a man of God and worked very hard at letting others know about his faith. He passed down the gift of music and photography to me and I cherish the cameras and memories he gave me and am grateful that I had him in my life. I miss him every single day and know that he's with my angels.

Credits:
Add on Kit Rehab. © Fanette - November 2008
http://ledigiscrapdefanette.blogspot.com/
http://www.digital-crea.fr
Fonts - Pea Beth
Friday, February 6, 2009
Amish Friendship Bread

This is so much more than just a recipe - it’s a personal way of letting others know that you care about them.
In our hi-speed always on the go world almost everything we eat these days comes prepackaged and designed for quick and instant use.
So where does a recipe that takes ten days to make fit in?
Maybe it’s a way to get in touch with a little of our past… a small link to those days, not so very long ago, when everything we did took more time and where a bread that took 10 days to make was treasured undertaking that meant something.
Amish Friendship Bread is an especially great bread to create for the holidays. This way, when you’ve finished making your friendship bread, you can give your friends a full loaf or even just a sample and the starter that made it!
This way, your friends can make their own bread loafs from the same recipe and then pass it along to their friends… this is why the bread is called “friendship bread”.
It also makes a great homemade birthday and house warming present. Church groups and hospitals have spread a lot of love and cheer by making Amish Friendship Bread for their members. Many people make it regularly just because it tastes so very good!
Here’s how to get started with your own friendship gift:
AMISH FRIENDSHIP BREAD STARTER
• 1 (.25 ounce) package active dry yeast
• 1/4 cup warm water (110 degrees F/45 degrees C)
• 1 cup all-purpose flour
• 1 cup white sugar
• 1 cup milk
In a small bowl, dissolve the yeast in water. Let it stand for 10 minutes. While you’re waiting, use a 2 quart container to combine the flour and sugar, mix it together thoroughly. When the yeast is ready, slowly stir in themilk and dissolved yeast mixture. Now cover the bowl loosely and let stand until it gets bubbly.
Consider this day 1 of the 10 day cycle.
AMISH FRIENDSHIP BREAD RECIPE
Day 1: Create the starter batch
Day 2: Mush down the bag
Day 3: Mush down the bag
Day 4: Mush down the bag
Day 5: Mush down the bag
Day 6: Add one cup each of - milk, sugar and flour. Now, nead the mixture together in the bag just a little
Day 7: Mush down the bag
Day 8: Mush down the bag
Day 9: Mush down the bag
Day 10: Follow the instructions below.
Pour the entire contents of the bag into a non-metal bowl and add 1 ½ cups flour, 1 ½ cups sugar, 1 ½ cups milk. Now, stir until smooth with a wooden spoon.
Measure out 4 separate batters of 1 cup each into four 1-gallon size Ziploc bags. Write the current date on the bag. Keep one as a starter for yourself and give the other three to friends, along with this recipe.
NOTE: If you keep a starter, you will be baking every 10 days. The bread is very tasty and makes a great gift. Leave it to the Amish know how to create the perfect starter recipe.
************
Baking instructions: Preheat oven to 325 degrees.
TO THE REMAINING BATTER IN THE BOWL - add
3 eggs
1 cup oil
½ cup milk
1 tsp. vanilla
1 cup sugar
2 tsp cinnamon
1 ½ tsp baking powder
½ tsp baking soda
½ tsp salt
2 cups flour
1 lg. box Vanilla Instant Pudding Mix
(options: 2 cups raisins or nuts)
Grease and flour two large loaf pans. Fill each with equal amounts of batter. Sprinkle with cinnamon and sugar (½ cup sugar and ½ tsp cinnamon)
Bake for 45 min - 1 hour. Cool until bread loosens from pan evenly, about 10 min. Turn onto serving plate. Serve warm or at room temperature.
Tuesday, January 27, 2009
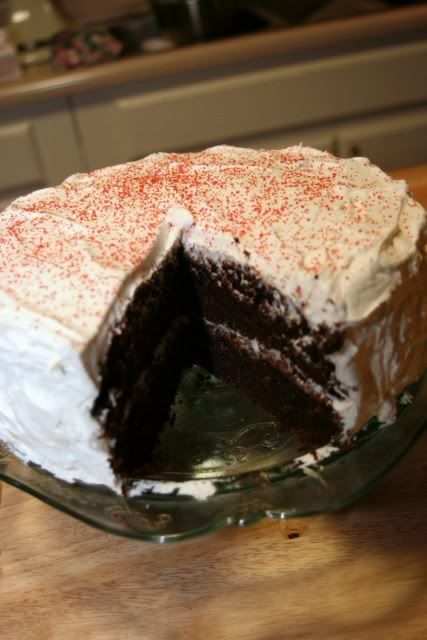
The Best Chocolate Cake Ever
I was lucky enough to run into this recipe on the net and thought that I would try it. Results; AMAZING! It's the best and most moist cake that I have ever made or tried. It's very rich and chucked full of chocolate so if you're looking for a sweet treat, this is it!
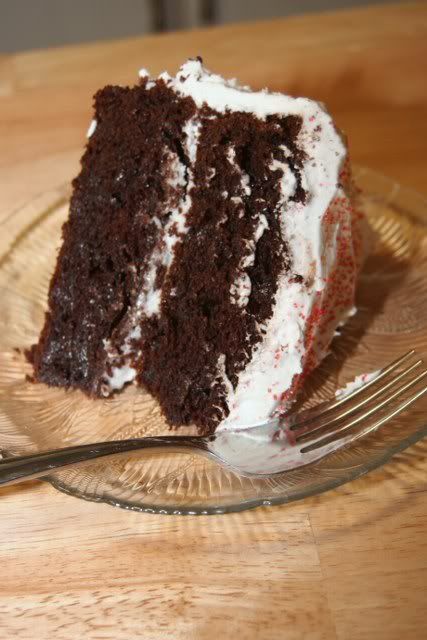 Let's get started! Here's the ingredients you will need for the cake:
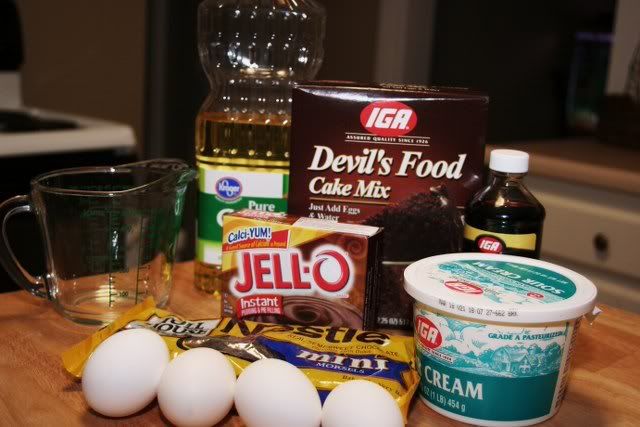 Ingredients:
 1 box devil’s food cake mix
1 package Jello instant chocolate pudding mix (not the sugar or fat free kind!)
1 cup sour cream
1 cup vegetable oil
4 eggs, beaten
1/2 cup milk
2 tsp pure vanilla extract
2 cups mini semisweet chocolate chips
Put all of your ingredients except for the chocolate chips into a medium mixing bowl(a 4-quart will work just fine.)
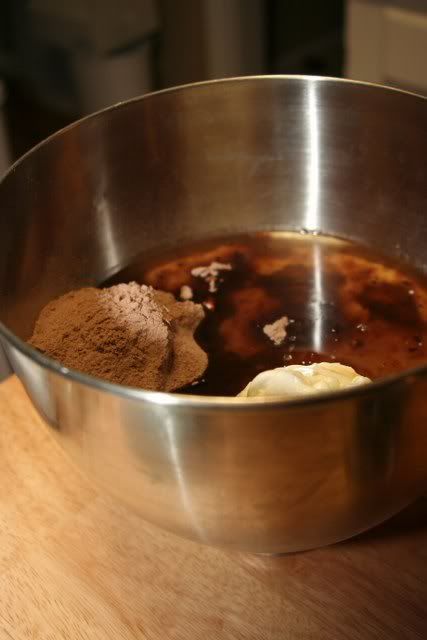
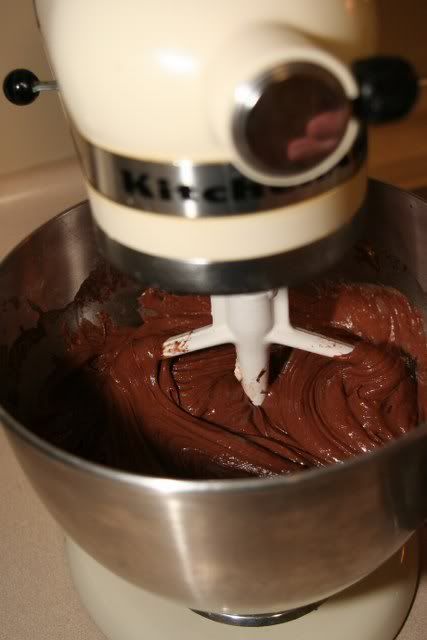
Mix well with a beater - The batter will be thick.
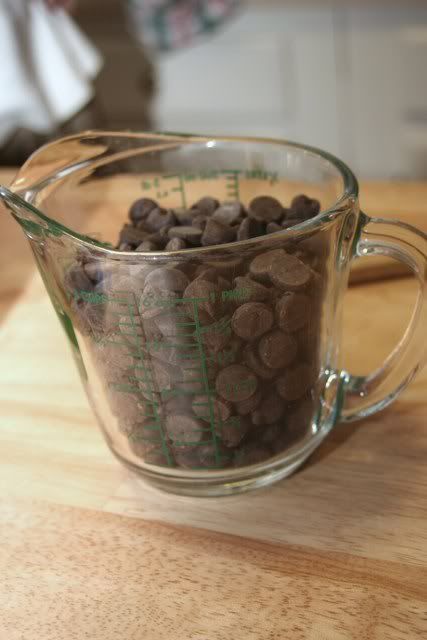
Add your 2 cups of mini chocolate chips - pictured are large ones(I forgot to take a photo so I took a photo with large ones for example) I used the mini chips in recipe - they work best.
Mix until well blended.
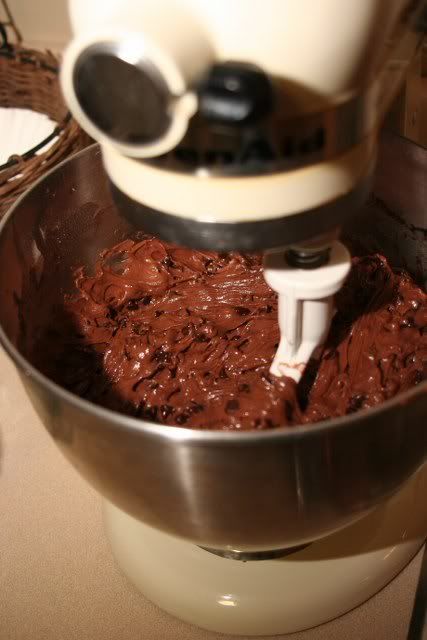
Grease pans very well - I used 9 inch cake pans but you can use whatever you like - sheet cake, cupcakes, bundt cake, etc. Scoop batter into pans of your choice, batter is very thick so it will not pour.
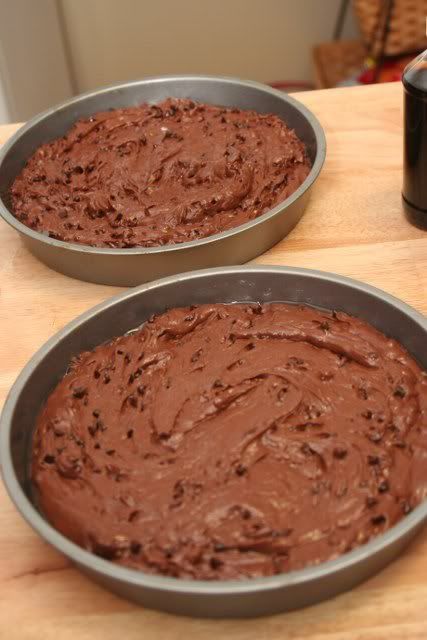
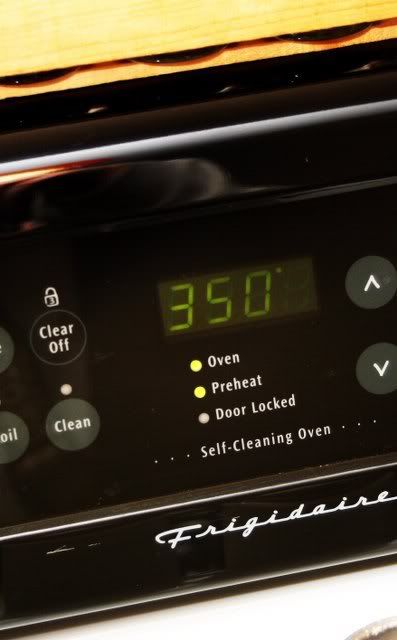
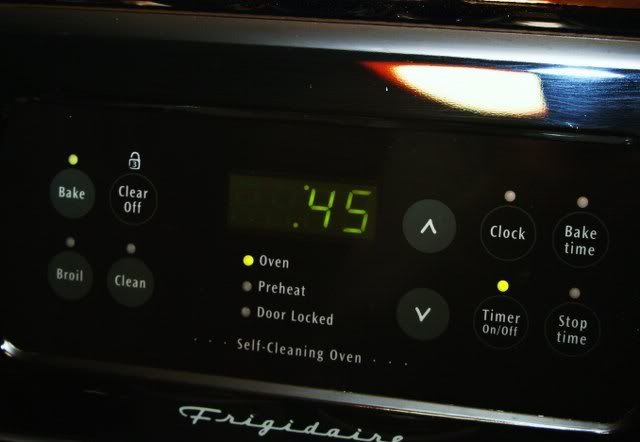
You can follow the directions on the box for bake times but ovens tend to vary. I set mine to 45 minutes and they were perfect.
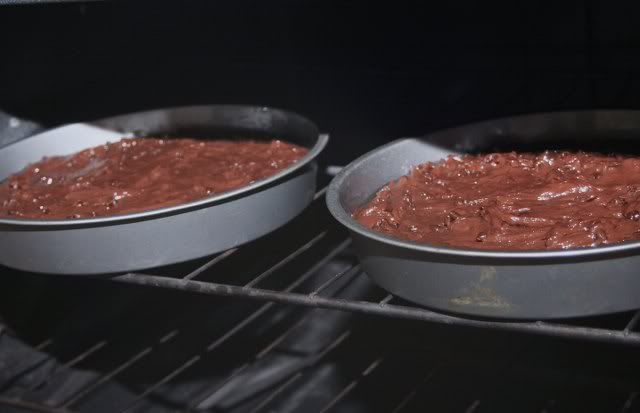
Be sure to check your cakes often and test them with a toothpick or cake tester. Please remember that you may see a little chocolate as there are the chips in the cake and there's a good chance you will stab into one. You can pretty much tell when the cake is ready by lightly pressing the top and it will bounce back and be fluffy.
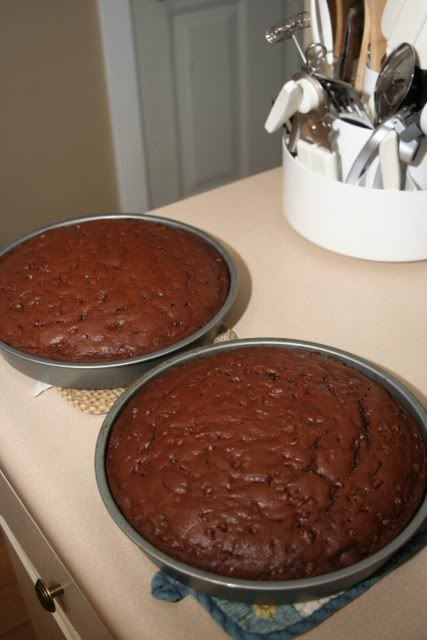
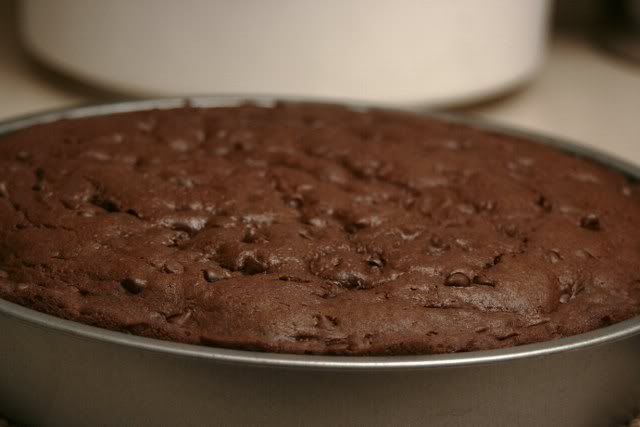
I know you may want to dig in now but let it cool! You can now work on the yummy butter cream icing. It will be worth the wait, I promise!
Here's the ingredients you will need for the icing.
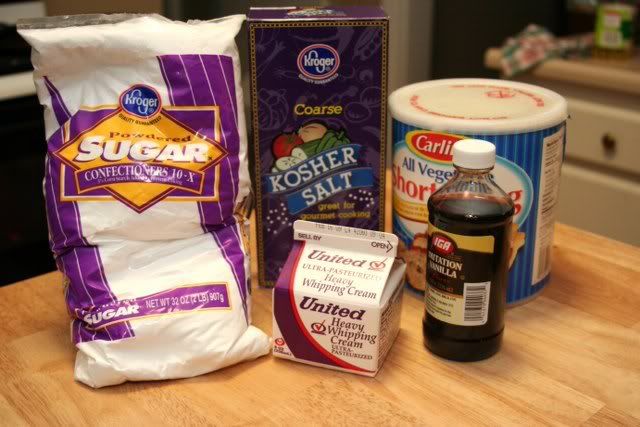
Ingredients:
1 cup shortening
4 cups powdered sugar
1/4 tsp salt
2 tsp vanilla extract
1/3 cup heavy whipping cream
In a mixing bowl add shortening and blend until fluffy. This step may take a little bit depending on how soft the shortening is.
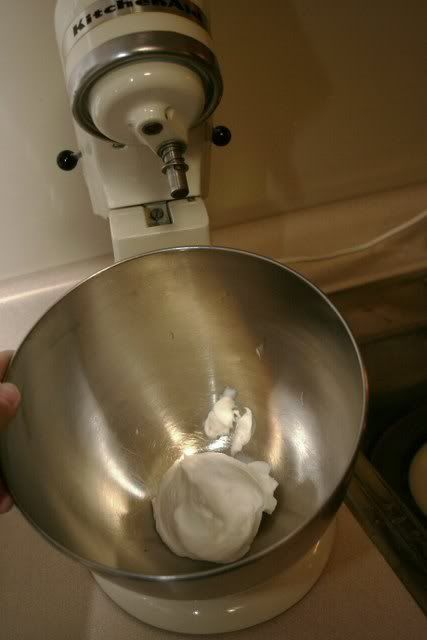
Add Sugar a little at a time and SLOWLY blend until well blended. Add Vanilla, Heavy Whipping and Salt - Blend well until fluffy. You may have to scrape the sides a few times. Make sure that you get it fluffy and don't leave any clumps.
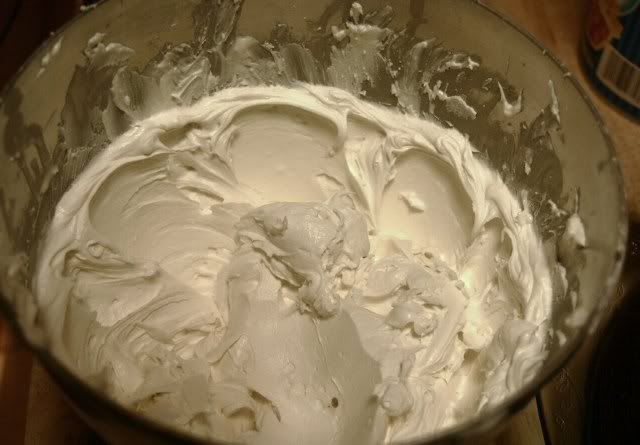
The icing is all done - We're ready to add it to the cake! I put mine on a pretty cake stand.
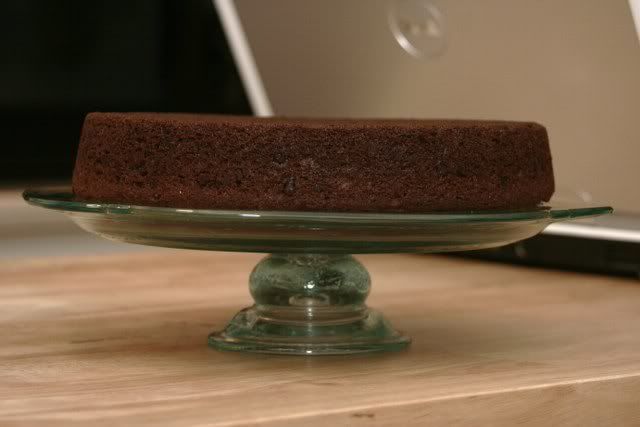
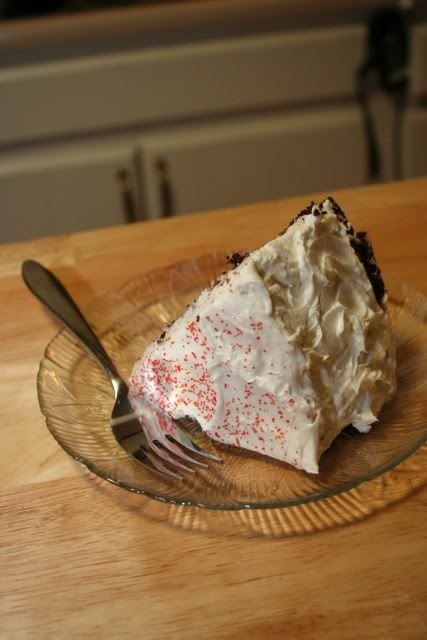
Add a thin layer of icing to the first layer and carefully place the second layer on. Icing top and then add to sides. I also put some sprinkles on mine.
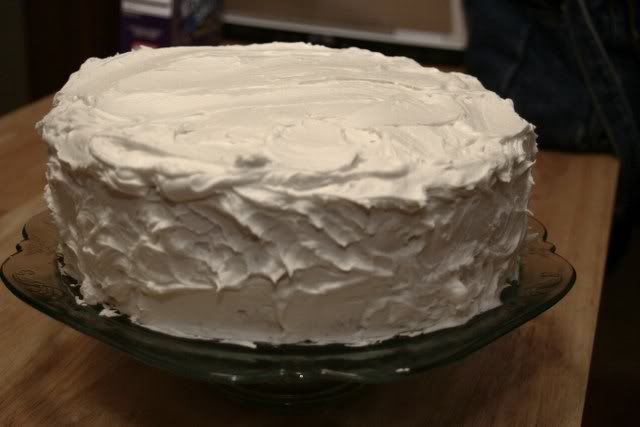
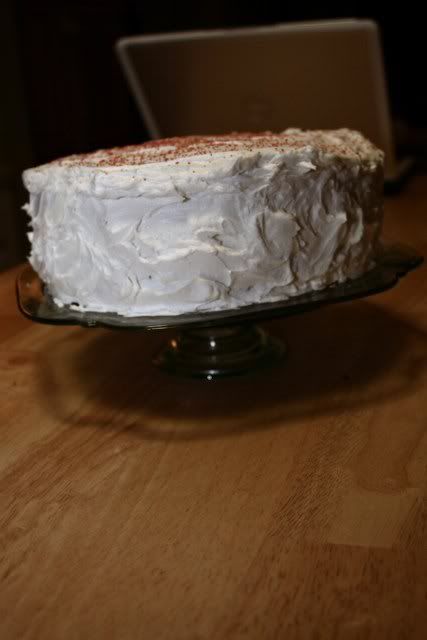
Last but not least, grab a cold glass of milk and Enjoy!!
Saturday, January 24, 2009
Friday, January 23, 2009
Grunge Frame Brush Set
http://www.myspace.com/tabbymichelle
tabbymichelle@gmail.com
Contains 2 High Resolution Frame brushes for Photoshop.
Made in Photoshop CS2 but compatible with most versions.
Examples:


DOWNLOAD

 .
.